Showing posts with label Modeling-tips. Show all posts

January 28, 2025

01/28/2025 - HPM Meeting

 Model Entries - January 2025

Caleb’s 1/48 Eduard Focke-Wulf FW-190A8 - Model of the Month

Dave’s 1/48 Hasegawa Messerschmitt Bf-109G

Jerry O’s 1/12 Revell Harley Davidson Custom Build

Gary’s 1/1200 American Battleships North Carolina and Missouri

Chad’s 1/25 AMT 2021 Ford Bronco

Charlie’s 1/32 1932 Chevy Confederate and Ford Model A

Bill’s 1/24 Tamiya 1989 Ferrari

Frank’s 1/24 Mobius 1955 Hudson Hornet

Joe’s 1/48 Eduard P-51B Mustang

Tomasz’s 1/72 KP Let L-410UVP-E Turbolet

Art’s 1/24 Mobius Ford F-100 Service Truck

George’s 1/35 MiniArt Ruined Building with a base diorama

Michael’s 28mm Reaper Miniatures Lovecraft Cluthlu Figure

Marty’s 1/48 Tamiya Spitfire Mk.Vb

Mark’s 1/48 Glenco Models Spad XIII

Jon’s 1/72 SovaM Bowmarc Launcher


August 29, 2024

August 27, 2024 - HPM Meeting


August 2024 Model Entries

Frank’s 1/24 MPC 1978 Ford Pinto and the Model of the Month

Jon’s 1/72 Dragon Sea Venom EAW.21

Art’s 1/35 Italeri Willys Jeep

Dennis’s 1/48 ‘O’ scale Rail King wagon

Tomasz’s 1/72 Matchbox Messerschmitt Me-410A

Joe’s 1/72 Tamiya F-84 Thunderjets

Caleb’s 1/48 Eduard P-51D Mustang
J
Gary’s 1/25 Hot Rod

Chad’s 1/24 Testors 1957 Chevrolet 

Mark’s 1/72 Airfix Spitfire Mk. Vb

Dave’s 1/72 DML MiG-17

Jerry’s 1/150 Bismarck (radio controlled)

Tony W’s tools and sanding discs

June 23, 2017

Bubbles in the airbrush paint cup

Bubbling in the color reservoir is caused when air is misdirected into the color channel rather than “jetting” over the paint tip in a manner that pulls or “vacuums” the color/media from the airbrush. The air enters the color passage causing a bubbling in the color reservoir - like when you blow into a straw in a glass of milk, causing the milk to bubble in the glass.    Generally there are four common causes of air entering the color channel causing bubbling in the color reservoir: 

1. non-sealing of the paint tip threads (threaded paint tip nozzles) or a non-sealing of the paint tip against the angled recess of the airbrush body (non-threaded drop in paint tip nozzles).  Air goes behind the paint tip and into the color channel.

2. partial clog of the paint tip - preventing the proper pull of paint from the paint tip. 

3. incorrect spray regulator alignment pushing the air into the paint tip rather than across it as necessary to “vacuum” color out from the paint tip. 

4. split/fractured paint tip - air enters the paint tip through the fracture and goes back into the color channel.   

The key to remedying bubbling in the color reservoir is to determine which of the four causes is occurring and correct it.  The remedy of cause 1 is to seal the paint tip threads with heated beeswax or, in the case of drop in paint tip nozzles -  be sure there is a complete sealing of the paint tip against the recess of the airbrush body it sits in.  Check the recess for minute paint particles and/or scratches.  If this surface is scratched, the scratch can sometimes be filled by rubbing Chapstick into it.  To remedy cause 2, disassemble and inspect the paint tip making certain it is clear, including cleaning inside the paint tip, from its backside, with a soft micro-brush.  DO NOT FORCE ANYTHING THROUGH THE PAINT TIP.  To remedy cause 3, make sure the spray regulator is properly tightened on to the nozzle head.  Also inspect and clean the back side of the spray regulator with a pointed cotton swab.  To remedy cause 4, replace the paint tip. 

(Reprinted from "Ovespray" the Badger Airbrush newsletter).

January 23, 2017

Airbrush Tip - Flush it often

 
The key to cleaning your airbrush, and keeping it clean, is much simpler than methods necessitating airbrush dis-assembly. The key is to avoid paint (or other media) from ever setting up in the airbrush. This is done by simply and frequently shooting cleaner through your airbrush — so frequently that paint/media never has time to set up in the airbrush. When color supply is exhausted, before adding color—shoot cleaner through your airbrush. When changing colors, before adding or attaching the new color jar—shoot cleaner through your airbrush. When setting your airbrush down to do something else, remember paint dries as fast sitting in your airbrush as it does on the item you are painting, before setting it down—shoot cleaner through your airbrush. You cannot shoot cleaner through your airbrush too frequently. At any reasonable time or opportunity, ask yourself “should I shoot cleaner through my airbrush?”. The answer is always YES! 

-- Reproduced from OVERSPRAY, the Badger Airbrush Newsletter

March 28, 2016

YouTube Video: Academy F-35A by PLASMO - plastic models

YouTube's a great resource for learning new techniques and expanding your skills.  I'm going to periodically share videos I've found to be interesting and useful.

This one features a build of Academy's F-35A from the channel PLASMO - plastic models.  Watch the whole thing, but I would like to especially point out the epoxy putty seat belts starting at about 1:42.  This is not the first time I've ever encountered this technique -- it's often used by pattern makers for resin seat masters, I believe -- but it's an interesting alternative to photo etch belts, which can be expensive and not always convincing.


Part 2 is here:  Academy F-35A

August 19, 2013

Splatter Resistant Paint Shield

All you need is the top of a 2-liter plastic bottle.

August 10, 2013

Applying Dull Cote With An Airbrush

  I'll admit, I'm a fan of the K.I.S.S. principle. K.I.S.S is an abbreviation for "Keep It Simple, Silly", but the final "S" can signify various other words not fit to print here.
   Rattle cans are probably the hallmark K.I.S.S. product with regards to modeling. It's easy. Push a button, paint comes out, and suddenly your modeling bench is covered in red paint. What's not to like? Since I reentered the modeling hobby ten years ago, however, spray cans have been eschewed in favor of airbrush applied finishes. You just can't beat the control an airbrush gives you in your paint or clearcoat finish.
   One of the products that I do like to use in spray can form is Dull Cote. I hadn't been brave enough to attempt to airbrush this product, even knowing there was a bottled version intended simply for manual brushing. This evening, after reading endless internet posts on the topic and watching a few YouTube videos, I decided to give it a try. I had an old bottle of the stuff languishing in my modeling file cabinet. Out it came.
    The appealing thing about Dull Cote in the bottle is that it's lacquer based. The chief advantage of this is that it will dry very quickly. While the spray can version is lacquer based also, you cannot vary the proportion of the Dull Cote to the thinner, which in this case obviously is lacquer thinner. With an airbrush, you can thin the Dull Cote in order to better control the spray, which increases the odds of getting an optimum application on the model.
   With a bit of intrepidity, I poured some of the Dull Cote into a glass baby food jar. Using the recommended proportion of 1:1 off the 'net, I thinned it with lacquer thinner until it looked right. Yep, I eyeballed it. Given the "hotness" of the medium, though, I figured by controlling the airbrush distance and airflow I could mediate any mistakes in thinness.
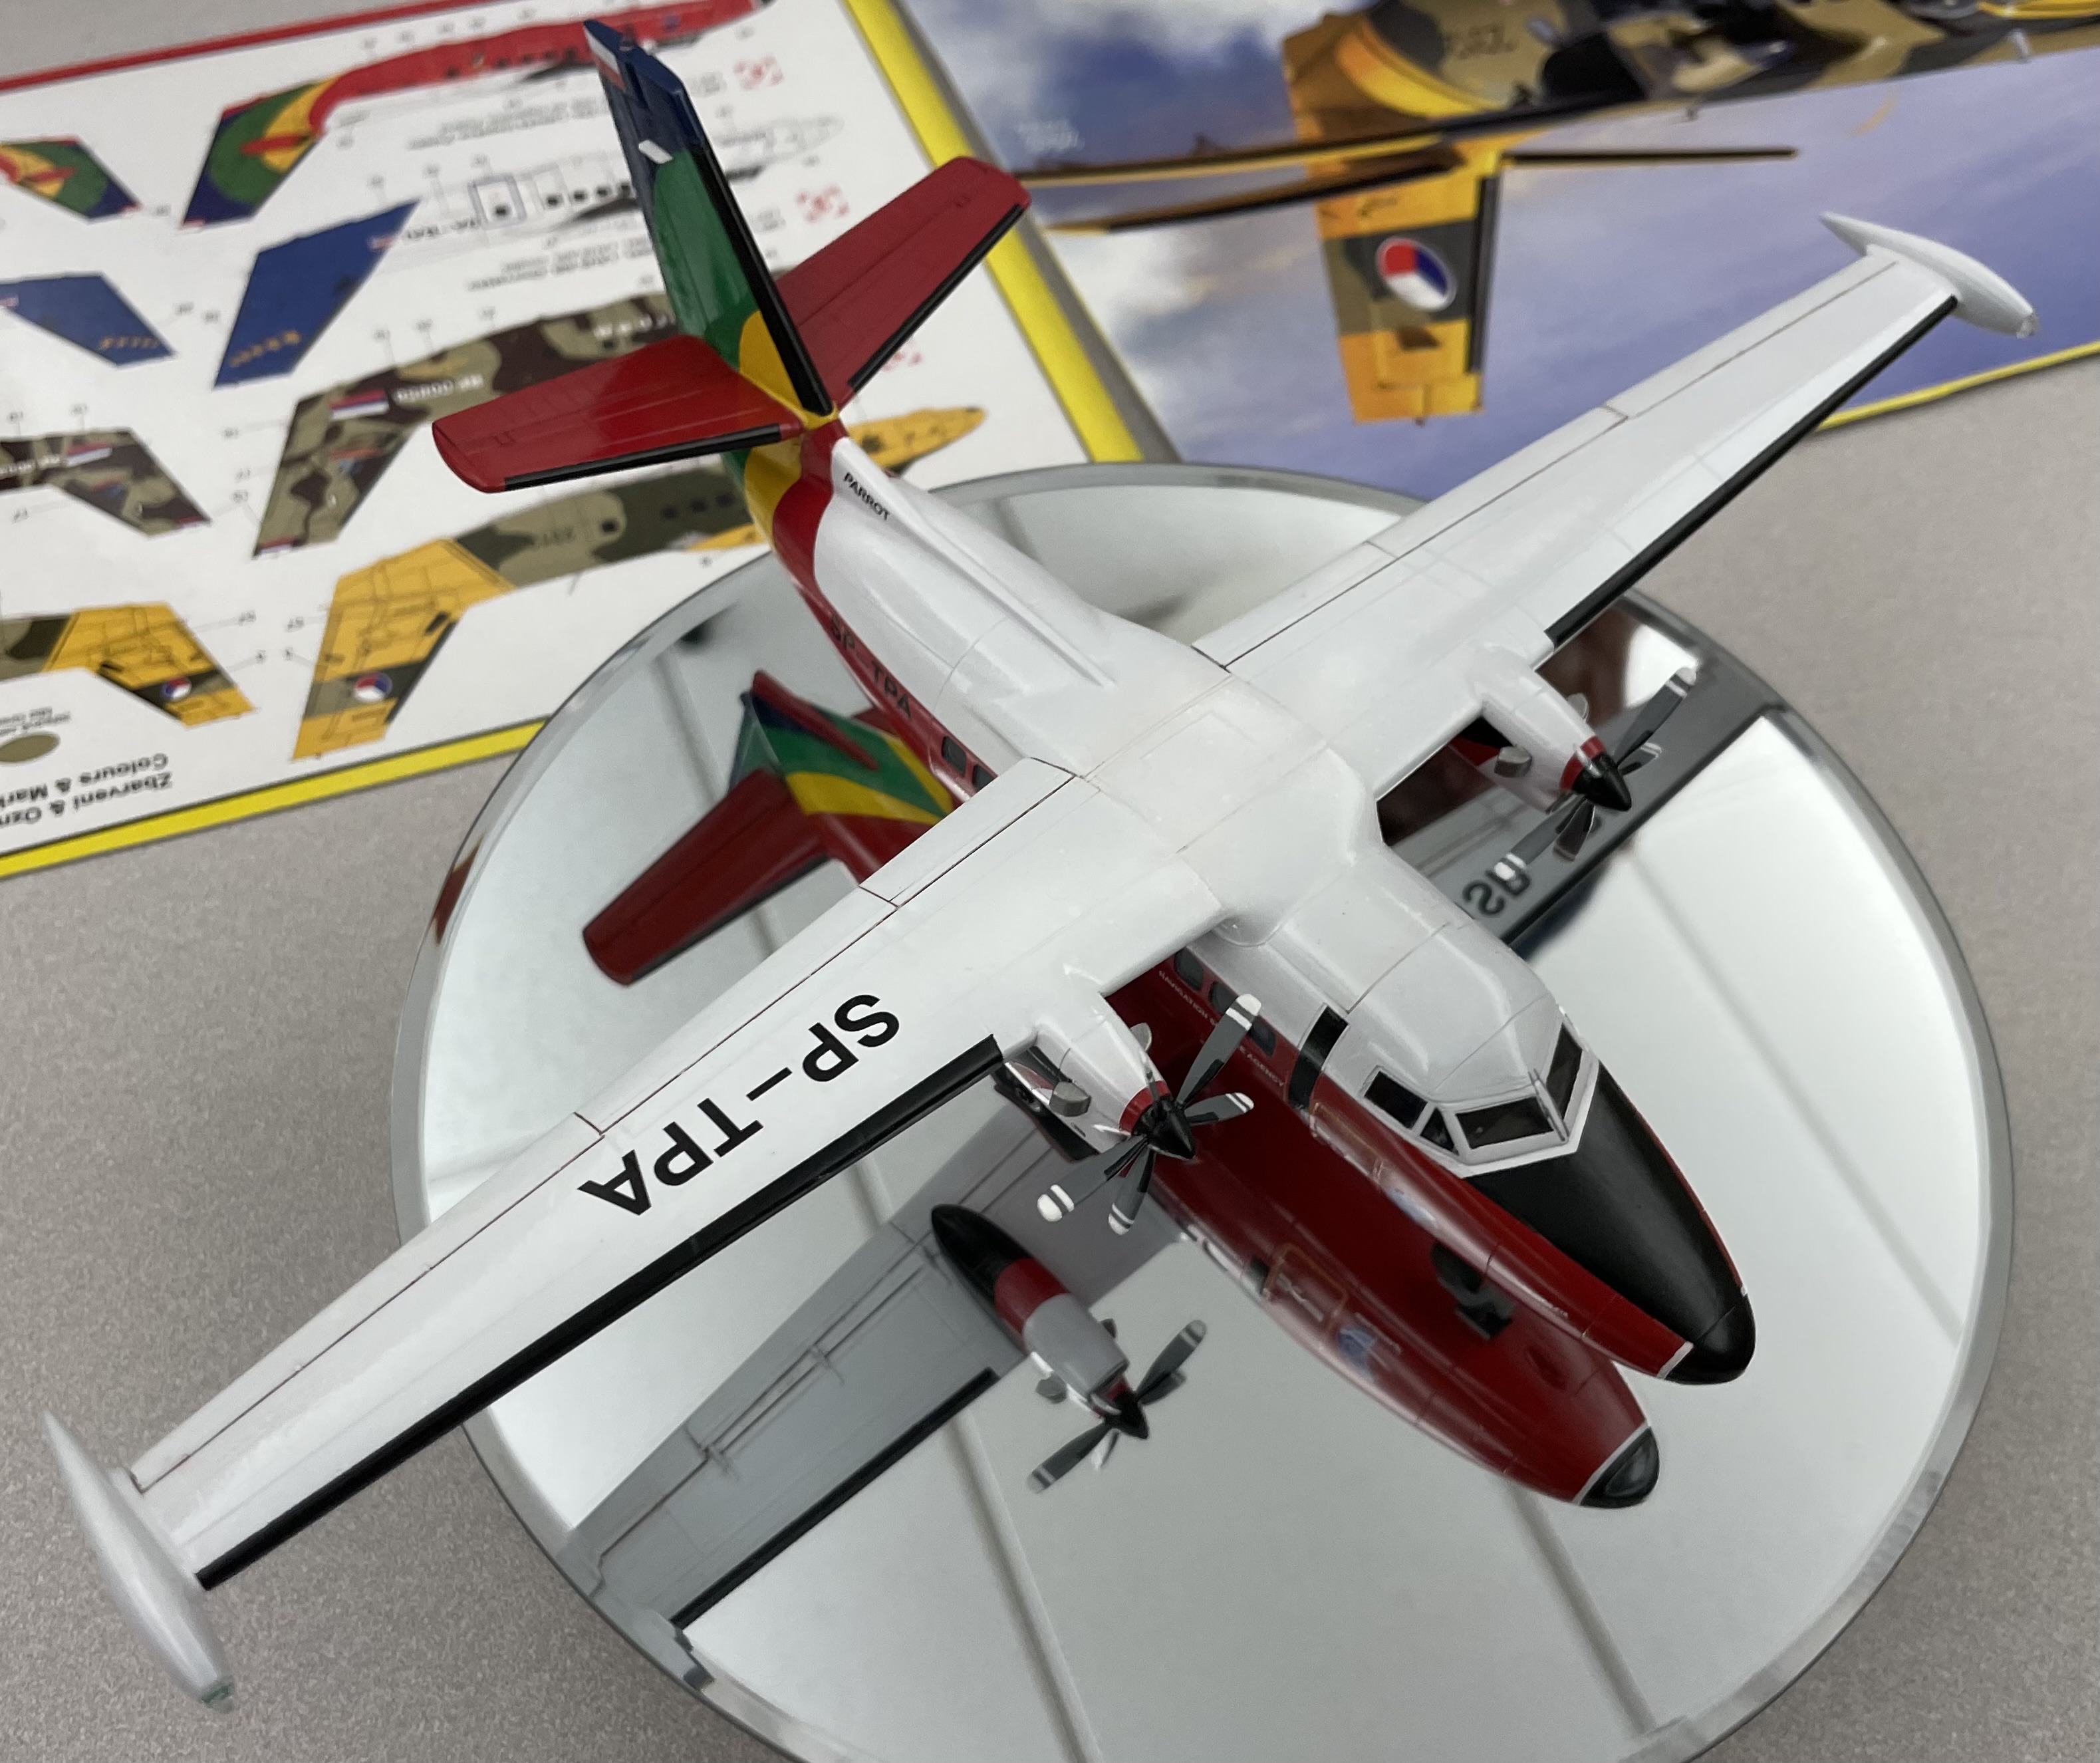
   Using the group build accessories I built, I began to spray. I was instantly amazed in how quickly the Dull Cote dried. With just the right amount of throttle on the airbrush, the mixture would hit the parts wet and dry within seconds. It was doing it as I watched! Even more brilliant, the high gloss imparted by a coat of Future Floor Wax I'd used earlier disappeared as I swept back and forth across the part. It was as if I was using a magic wand to get a perfectly matte surface. The surface was dead flat.
    Needless to say, despite the hassle of fumes and cleanup (I usually use acrylic products due to their ease of cleanup), I believe I may convert to airbrushing this product. I simply can't argue with the results. I can't wait to try this method of flat coat delivery on my next armor or aircraft model. Check out the pic:

August 6, 2013

Spill Resistant Glue/Paint Holder

This is my version of a tried & true workbench friend.  All you need is a yogurt container with a wide base & foam.

July 25, 2013

Realistic Model Car Distributors

HPM member Cody creates realistic looking caps & wires by making a centering dent with a straight sharp scribe & drills each hole with a #80 bit & super glues a wire in each one. He does the same with the spark plugs. Cody prefers to use Detail Master plug wires.

How to Avoid Clogged Super Glue Applicators

Some HPM members share their methods of dealing with those pesky clogged super glue applicators:

-Pablo purchases spare applicator tips & caps in packs of 10 & replaces them when they clog.

-Larry says he taps the bottle on the table & blows into the applicator tube.

-Chris buys a multi-pack of mini super glue tubes. Wiping the nozzle & cap before re-sealing it is usually enough to avoid a clog. If a tube does clog, just toss it & open a new one.

July 17, 2013

How to remove Bare Metal Foil residue

     Some modelers use Bare Metal Foil to mask their clear parts, especially aircraft canopies. While the product lends itself very well to this application, one downside is that it leaves an adhesive residue behind when the foil is pulled off. The modeler is then left with the problem of how to remove the residue.
    Two products that work well to remove this residue are a citrus based cleaner called Goo-Gone, and the old garage standby WD-40. Simply dip a cotton swab in either product until just lightly soaked, then wipe away the adhesive residue. You can follow up with a dry swab to remove excess cleaner. I used WD-40 for my application, and found it worked well. I had no problems with the WD-40 taking off the Future coat or the acrylic paint on the canopy frames. Next time you're working with Bare Metal Foil, keep this quick tip in mind!

--Chris


July 1, 2013

Extending The Life Of Your Putty

    My wife is an accountant, so budget is often a topic of discussion in our daily life. As with my other tip on making "liquid sprue" filler, I'm always on the lookout for thrifty modeling tools.
     Recently I noticed that my tube of Squadron White putty was drying out. This problem happens to me with every tube I buy, so much so that I frequently throw away what must be half a tube of putty. At $4.00 a tube, this can get expensive. Looking for an alternative, and keeping in mind that acetone can be used to thin some putties, I had an idea.
     Using a spare jar, I cut open the putty tube to reveal the dried putty. With an old hobby knife, I shoveled the putty into the jar until it was a little over half full. Then I used a straw as a pipette, dribbling acetone into the jar. Stirring, the mixture soon turned into a very runny slurry. It looks promising, but I haven't had a chance to use it yet, so stay tuned for an update later when I can advise you of results.
     It should be said that since acetone is one of the main ingredients, this will be a very "hot" putty. My recommendation would be to spoon some of it onto a work surface where the acetone can evaporate a little bit before applying. This will minimize the chance of damaging the plastic on your model.
     Lastly, acetone is a very strong chemical. Make sure you open a window or use a respirator when taking on projects such as this. Safety first!

--Chris

Items needed for this experiment. If your assistant is named Igor, so much the better. ;)

Spooning putty into the jar.

Stir, and voila! Magnifique! It will be interesting to see how this works.

Making Filler With Sprue And Cement

     Often I can be found at my bench experimenting with this technique or that. Usually this is motivated by a desire to avoid spending money on brand-name products. Why empty your wallet if you can use ingredients from your own stash of modeling tools? It's the classic recipe of utilizing leftovers.
     This morning I decided to try a trick I'd read on the internet. Some hobbyists use a filler made of leftover sprues and an old jar of welding cement. The sprues dissolve into the liquid, making a gooey putty. With care, this can be applied to seams, allowed to dry, and sanded as with any other filler. Check out the pics below which illustrate this straightforward process.

--Chris

The ingredients. Any old sprue will do. ;)

I mixed two leftover bottles of cement. The Testors bottle, with its wider  opening, was well suited for use as a container. You can even use the brush in the cap to apply the product later.

On the stirring stick, you can see evidence of the liquified sprue after only a few  minutes of soaking.

June 24, 2013

Alclad II Paints - Regular vs High Shine

Did you know that not all Aclad II Paints use the same primer? Did you know that some Aclad paints should not be painted over or decal solution used on them?

This is the list of Regular and High Shine paint finishes (information extracted from the Alclad II website)

Regular Alclad Finishes
  • ALC-101 ALUMINIUM
  • ALC-102 DURALUMINIUM
  • ALC-103 DARK ALUMINIUM
  • ALC-104 PALE BURNT METAL
  • ALC-106 WHITE ALUMINIUM
  • ALC-108 PALE GOLD
  • ALC-110 COPPER
  • ALC-111 MAGNESIUM
  • ALC-112 STEEL
  • ALC-113 JET EXHAUST
  • ALC-116 SEMI MATTE ALUMINIUM
  • ALC-117 DULL ALUMINIUM
  • ALC-120 GUNMETAL
  • ALC-121 BURNT IRON
  • ALC-123 EXHUAST MANIFOLD
Primers for regular Alclad finishes
  •  Alclad ALC-302 GREY PRIMER 
  • Alclad ALC-306 WHITE PRIMER & MICROFILLER 
  • Alclad ALC-309 BLACK PRIMER & MICROFILLER 
  • Tamiya or Gunze Sangyo plastic primers
REGULAR ALCLAD can be masked over and painted. Decal solutions can be used with REGULAR ALCLAD,


High Shine Alclad Finishes

  • ALC-105 POLISHED ALUMINIUM
  • ALC-107 CHROME FOR PLASTIC
  • ALC-109 POLISHED BRASS
  • ALC-114 CHROME FOR LEXAN
  • ALC-115 STAINLESS STEEL
  • ALC-118 GOLD TITANIUM
  • ALC-119 AIRFRAME ALUMINIUM
  • ALC-122 MIRRORED GOLD FOR LEXAN
Apply one of these primers before using High Shine ALCLAD:
  • ALCLAD GLOSS BLACK BASE ALC-304/305
  • ALCLAD CLEAR BASE ALC-303

Decal solutions are not recommended for HIGH SHINE ALCLAD. It is not advisable to mask and paint over HIGH SHINE ALCLAD.


All-American Car Show July 13, 2024

All-American Car Show July 13, 2024

ALL AMERICAN CAR SHOW Details

The All-American Car Show is inviting contestants for the Model Show in Loveland, CO ages 17 or younger. Please see the details below: Model Building contest for Cars & Trucks only. Eligible contestants are those who are 17 or younger. Fee: Free to enter Model Build contest. Main event: All American Car Show. Date: Saturday July 13th, 2024. Time: 8am - 2pm (Model contest judging at 11am). Location: Loveland Sports Complex, 950 N. Boyd Lake Ave. Loveland, CO. Awards: Best in Show: 1st, 2nd & 3rd place. Note: Those who wish to bring their model car or truck just for show and no award is open to all ages.